
I had such fun creating these five awards for the Cold Lake Women of Influence committee. It was a long and involved process, taking about two months from start to finish. I will go over the highlights here, but I will try to not get too technical!
I first started with my design. My inspiration was the four elements of Air, Fire, Water and Earth. These fit perfectly with the four main award categories: Air to Business and Professional, Fire to Art and Culture, Water to Health and Wellness, and Earth to Community and Volunteerism. I was amazed at how well these four categories fit with traditional associations of each element. Air is linked to communication and new beginnings, which fits with the Business world. Fire is linked with creativity and passion, which describes anyone in the Arts. Water is linked with healing and compassion, which is Health and Wellness. Earth is linked with life and death, and to connections with our loved ones. This fits perfectly with the spirit of Community and Volunteerism. The Overall Woman of Influence award was a combination of all these qualities, and it a representation of our spirit, our centre that is the strength our other qualities rest on. I chose colours and symbols that relate with their respective element.
It is not easy to convey the final product in a sketch. Here is an example:

And here is the finished award, "South Fire" for Arts and Culture:

I knew the main shapes and colours I wanted to use in the sketch, but as you can see I worked out the details later. I found my inspiration to complete the background areas for each piece after I had completed the main curved section. Some things you just need to work out one step at a time.
All the awards were made using the layered glass block technique, with iridescent glass used on the sides and back. A rounded edge was created on the top layer by cutting the side pieces about 8 mm shorter than the total depth. The finished dimensions were 8" h x 4" w x 1" d. These were thick enough to stand up unsupported, but I was not going to leave them "naked" and increase the chance that they could get knocked over. I made stands out of oak and steel, using plastic tubing around the steel rod as a cushion.
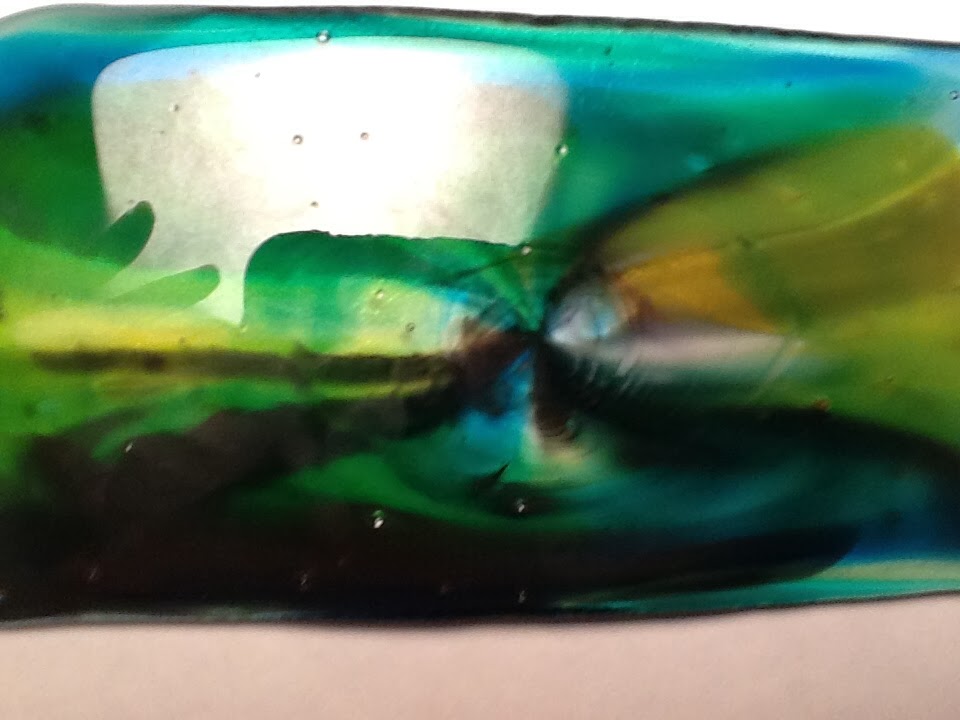
So, here is a closer look at the layers. I will show the "South Fire" as the example:

As you can see, I pre-fired two sections, each consisting of two layers of glass. The red curved area was a pot melt that I cut using a tile saw and a ring saw. I then cut two crystal clear layers to sit alongside, following the curve and fully fused them. The background layer (with the blue and greens) was two layers of crystal clear with large frit pieces on top. I then sprinkled different colours of powdered frit into the cracks. The logos (phoenix, flames, "fire" line, and the Women of Influence logo) were created using Glassline paints. I found it easier to get more details with that if I put down the colour, waited for it to dry, and then went back with an Exacto knife and cut out the extra paint. The additional layers were sheets of crystal clear. The bottom layer (touching the kiln shelf) was clear irid, with the irid side touching the shelf.
The process was the same for each award. I created the pot melt first, then decided my background and placement of logos. I spent several weeks working to get that far.
I will give any glass fusers reading this my two cents about pot melts: Don't spend the $80 for the "pot melt kits" I see all the popular retailers selling. As long as you already have enough kiln furniture to elevate your pot, I think you are better off buying the cheap terracotta pots. I have a Paragon 7 kiln that only has seven inches of depth in the firing chamber. So I ended up cutting down the pots with my tile saw so they would not be too high in the kiln and touching the elements in the lid. Those pots cost maybe $4 each. They only last for one firing (they fracture all the way around where the leftover glass is still touching the pot). The fancy ceramic kits, according to the retailers, only last for two or three firings before they crack. Also, make sure you use a firing schedule that gives the glass time to settle after it all falls out of the pot, so you don't get that annoying string of glass from the pot to the puddle. Paul Tarlow was great advice on this subject in his ebook about making your own mesh and trough melts. Here is a link to his page selling his ebooks. I recommend all of them!
Here are three of the cut pot melts:

The final firing of the block took about two days from start to finish. I was able to fire two blocks at a time. I got them to just fit onto the kiln shelf, along with all the furniture required to dam the sides sufficiently. My firing schedule was straight off the Spectrum chart for annealing thick pieces. I took them to a working temperature of 1470 degrees F.
I will admit it was a little difficult to see them being handed to someone else at the ceremony. I put my heart and soul into these pieces, and I hope all the Award recipients come to love them as much as I do!
Here are some photos of the other finished awards:
This is the "North Earth" Award, for Community and Volunteerism:

This is the "West Water" Award, for Health and Wellness:

This is the "East Air" award, for Business and Professionalism:

The Overall Woman of Influence award was a slightly different shape and design. I wanted to incorporate elements from the other four awards and represent "the centered self" that is surrounded and an integral part of the other four elements or qualities.


